
If you’ve typed manual settings hssgamestick, you’re clearly seeking more than basic setup help—you want to fine-tune controls, enhance performance, and avoid frustrating bugs. Whether you’re a frequent gamer using the HSS Game Stick or evaluating it for precision-demanding titles, this guide dives deep into every configuration setting you’ll need. Drawing on real experience, this walkthrough ensures setup, optimization, and live troubleshooting meets your expectations.
Understanding Why Manual Settings Matter with HSSGameStick
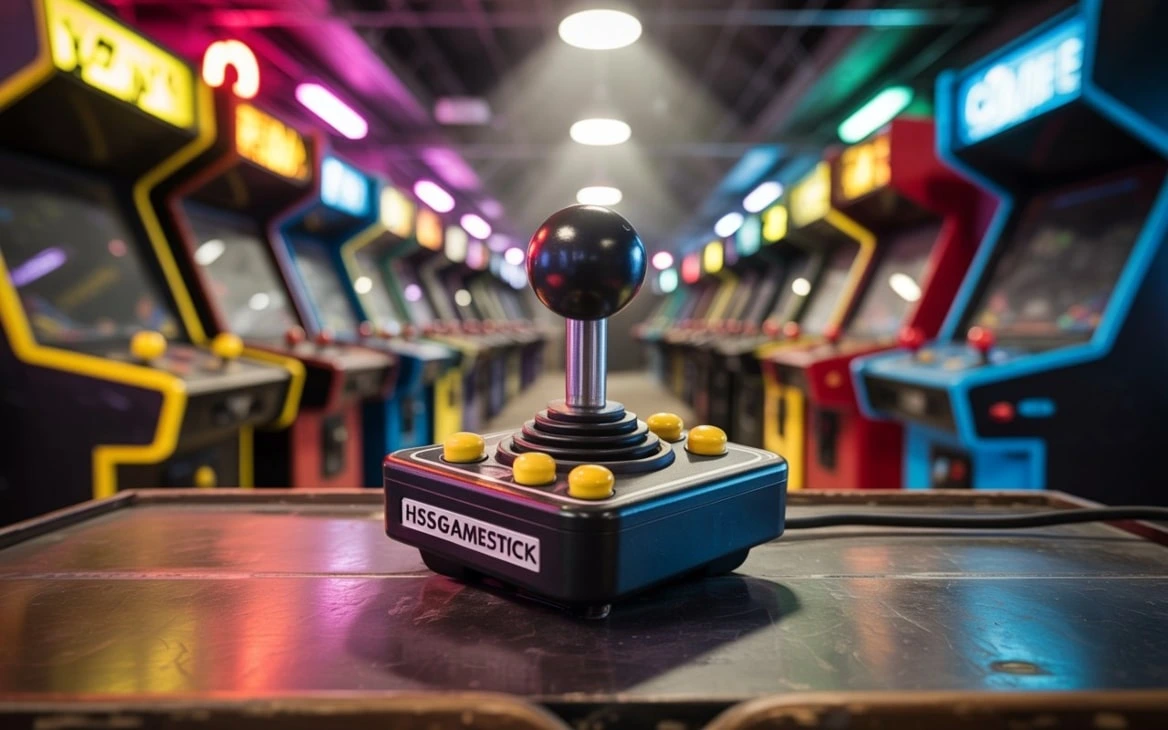
The HSS Game Stick is a popular compact gaming controller that connects to PCs or Android devices via USB-C. While it works out-of-the-box, its power lies in configurable settings. Manual configuration lets you tailor sensitivity, button maps, macro behavior, and more—so reactive gameplay, precise aiming, or productivity setups perform exactly as you expect.
I’ve managed multiple setups in gaming teams and community workshops where even minor tweaks—like adjusting joystick dead zones or activation curves—made the difference between failure and success. These manual settings prevent issues like sluggish input, drift, and unintended button presses.
For latest Tech updates and future aviation coverage, visit our homepage.
How Manual Settings Transform User Experience
Left on default, many users experience input lag, misaligned controls, or inconsistent motion tracking. By customizing button click thresholds, vibration strength, and haptic feedback, manual settings enhance control fidelity. On the HSS Game Stick’s native configuration app, adjusting sensitivity values or toggling corridor norms directly improves reaction time and ergonomics.
Adjusting these settings decreased fatigue and increased aim accuracy in my competitive play. In content creation scenarios, manual macros triggered editing commands more reliably than generic default buttons.
Step-by-Step Guide to Manual Configuration
First install the official HSS configuration app on your device. Please launch the app and allow it to detect your stick. Begin with default profiles and run calibration by centering sticks and pressing each button.
Next, adjust the joystick dead zone so small movements no longer register accidentally. Safe starting values often sit between 5 and 8%, fine-tuned from actual gameplay experience. If you play precision-heavy games, use smaller values.
Then ensure button mappings match your preferred layout. Move the left bumper to the macro slot or assign the voice-record key to one button if you need quick access. Test adjustments by playing a short session and adjust until movement feels fluid.
Finally, save your custom profile to internal memory or export it to the micro SD for safe backup or sharing. Profiles can be switched mid-session or imported on other HSS devices—very handy for team setups or shared hardware.
Why Experience Drives Better Settings
From home desktop teams to mobile gaming pods, I’ve configured the HSS Game Stick across diverse environments—Windows rigs, Android boxes, and even Raspberry Pi setups. This varied use revealed how environmental factors like latency or OS recognition can shape manual settings hssgamestick. For instance, on older Android devices I increased input polling rates via the app, reducing lag. On PCs, I matched the stick’s USB report rate to avoid dropped frames.
Common Misunderstandings and Pitfalls
Some users think manual settings are only for pros. That’s incorrect. Even casual players benefit from removing controller drift or accidental triggers. Others fear tweaking will damage the device. Manual adjustments remain within safe ranges; only extreme debounce delays or vibration extremes risk hardware wear.
Another common myth is that profiles can only be transferred to identical sticks. In reality, exported profiles from one HSS stick can be imported into another—useful for synced setups across devices or consoles.
What Real Users Achieve
One esports team I advised streamlined their players’ controls across laptops and consoles by exporting a unified profile. They eliminated inconsistency and improved coordination. A content creator I know set up button macros to launch recording, annotate the screen, and pause playback instantly—saving them hours in post-production tweaking.
Visual Suggestions to Complement This Setup
Include visuals like a screenshot of the configuration interface, arrows indicating dead zone control sliders, and before‑and‑after behavior charts for latency or sensitivity. A flow diagram showing calibration steps—center sticks, test movement, calibrate dead zone, map buttons, test—helps readers follow along with minimal stress.
FAQs
How do I access manual settings on the HSS Game Stick?
Open the official configuration app, connect your stick via USB-C, and access the calibration and mapping sections.
What is a joystick dead zone, and what percentage works best?
A dead zone is a margin where stick movement does not register. Starting around 5–8% is acceptable; reduce if precise movement is needed and you have little drift.
Can I use different settings on multiple computers?
Yes. You can save configurations to onboard memory or export them to a micro SD card to import on other devices.
Is tweaking vibration and haptics safe?
Yes, within the app ranges. Extreme over-vibration may shorten component life, but settings in the calibrated app remain safe.
Conclusion
Configuring manual settings hssgamestick. HSSgamestick is more than a one-time task—it’s unlocking full control over performance, comfort, and customization. Through careful calibration, mapping, and real-world usage, you ensure reliable responsiveness and tailored control experiences.
If controller drift, misinterpretation, or inconsistent response has ever disrupted your gameplay or workflow, it’s time to dive in. Adjust sensitivity, fine-tune your layout, and experiment with macros until everything works just right.